Quick Summary: Fold the scored lines of the cardboard precisely to form the desired box shape. Secure the folded box on the interior using adhesive tape for a seamless finish.
We all use custom cardboard boxes to pack our products. These boxes were delivered to our homes in flat form, and now it is our responsibility to fold them. Let’s face it: All of us have struggled at one time or another to close the box. Closing or folding a box is not as simple as it may look.
So, if you want to learn a step-by-step process for folding custom cardboard boxes, stay tuned.
How To Assemble A Cardboard Shipping Box?
Step 1. Place Your Box On A Floor / Table
The first step is to place your box on a flat surface, such as a floor or table. Please ensure a vast space is available so you can fold your custom cardboard boxes without any disturbances.
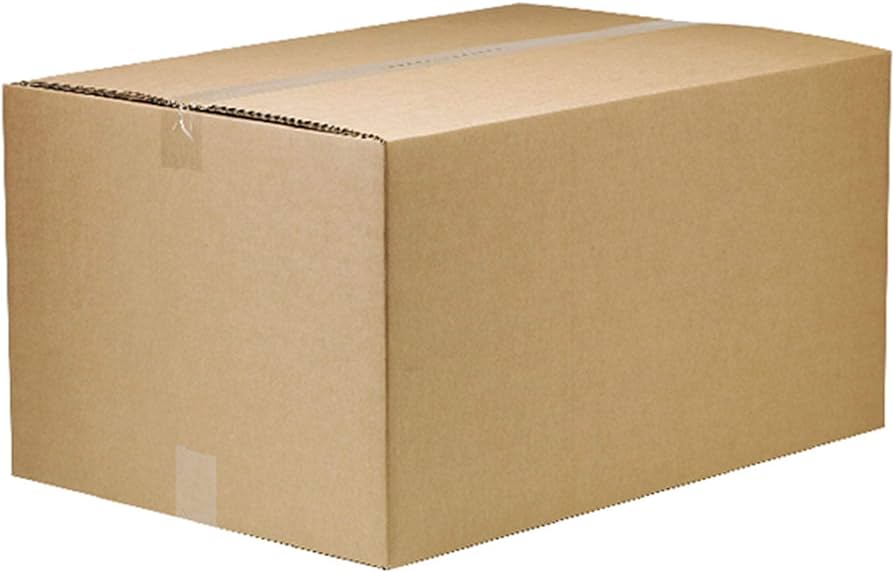
Step 2. Open Your Box
Unfold the flattened cardboard box into a rectangle. If a design or pattern is printed on one side, make sure the plain bottom side is facing up.
Step 3. Start Folding The Flaps

Now, it is time to fold down all four flaps. As a packaging expert, we recommend folding two small flaps first. Once done, you can fold the flaps of your custom-printed cardboard boxes.
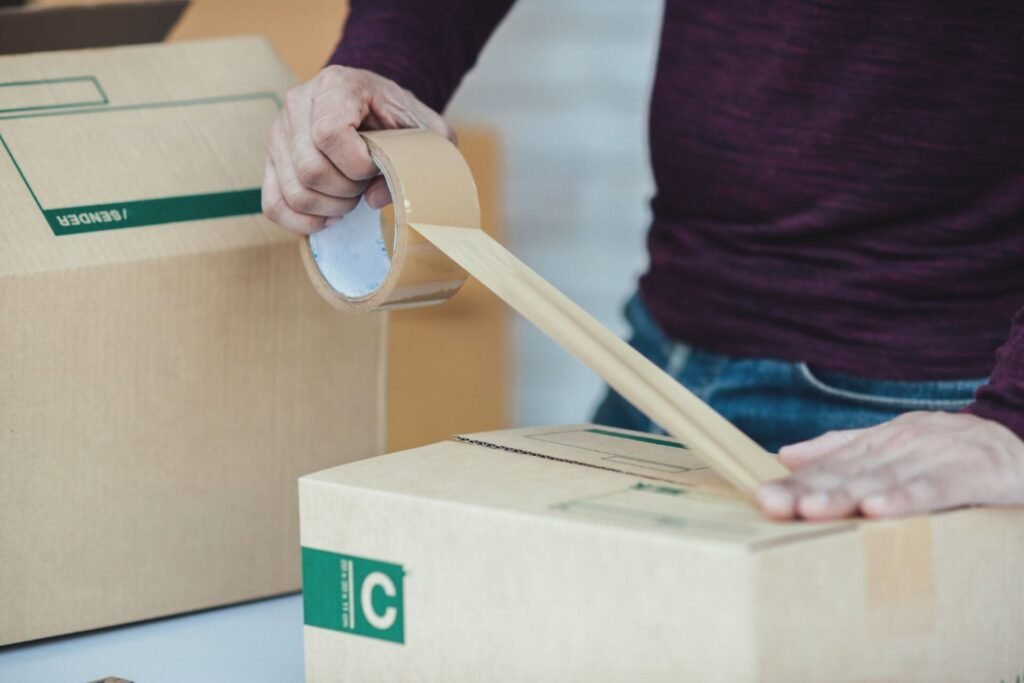
Step 4. Apply Tape To The Bottom

Once you have folded all the bottom flaps, it is time to seal and close them permanently with tape. While applying the tape, make sure all the flaps are joined and start applying tape from the center. This is the weakest point because this joint has to hold all the weight of your product.
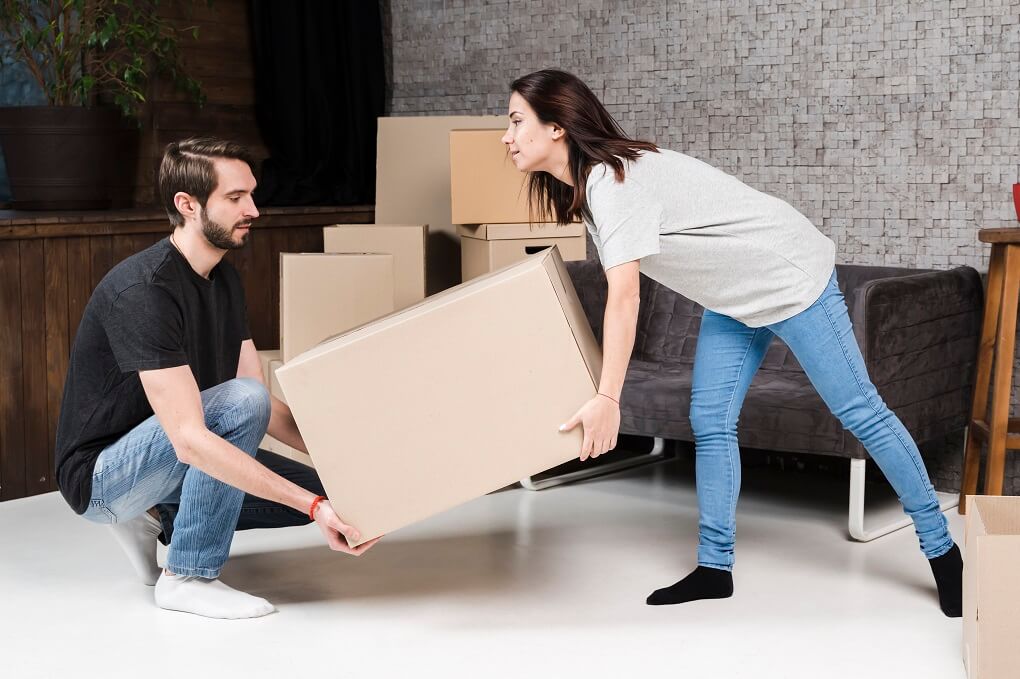
Step 5. Flip The Box
The bottoms of your custom cardboard boxes are sealed. Turn your box and place your items inside it.
Step 6. Close The Box & Apply The Tape

Now, repeat the same process. Close the flaps. Remember what we told you earlier: close the tiny flaps first and then the large ones. Apply the tape, and your custom cardboard boxes are now assembled.
Step 7. Apply Stickers or Labels
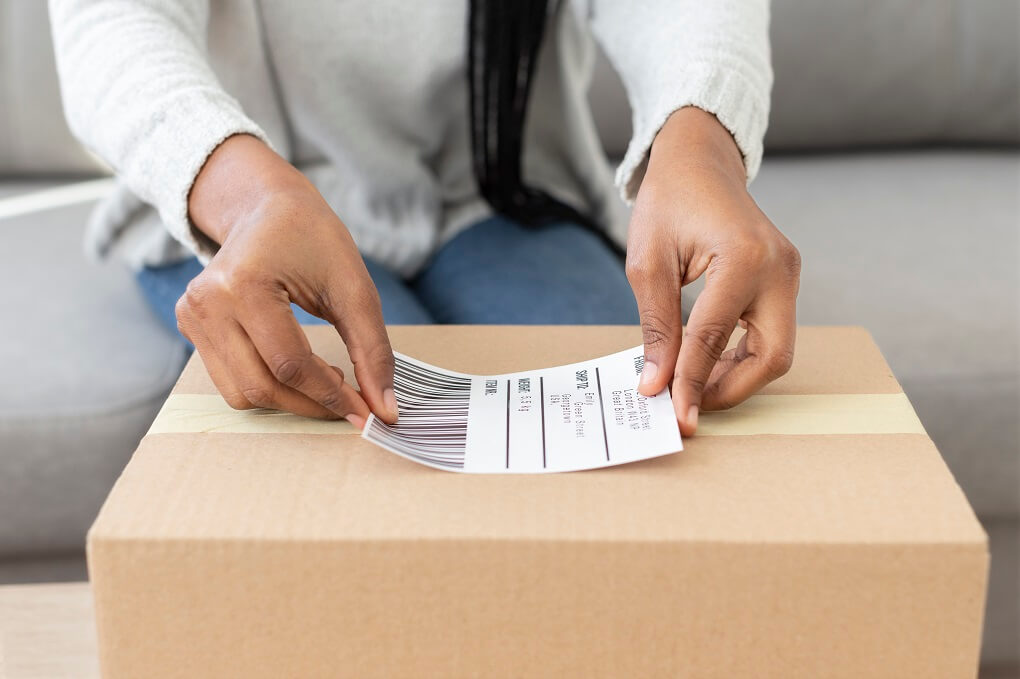
If you want to give your customers a pleasant unboxing experience, we recommend placing a sticker or a label on top of your boxes. This will give your boxes a personalized touch and help you increase your brand image.
How To Assemble Custom Cardboard Mailer Boxes?
Mailer boxes, also known as postal boxes, are super easy to assemble. They do not require tape, which makes them more sustainable for the environment. So, let’s learn how to fold custom cardboard mailer boxes.
Step 1. Fold Front & Back
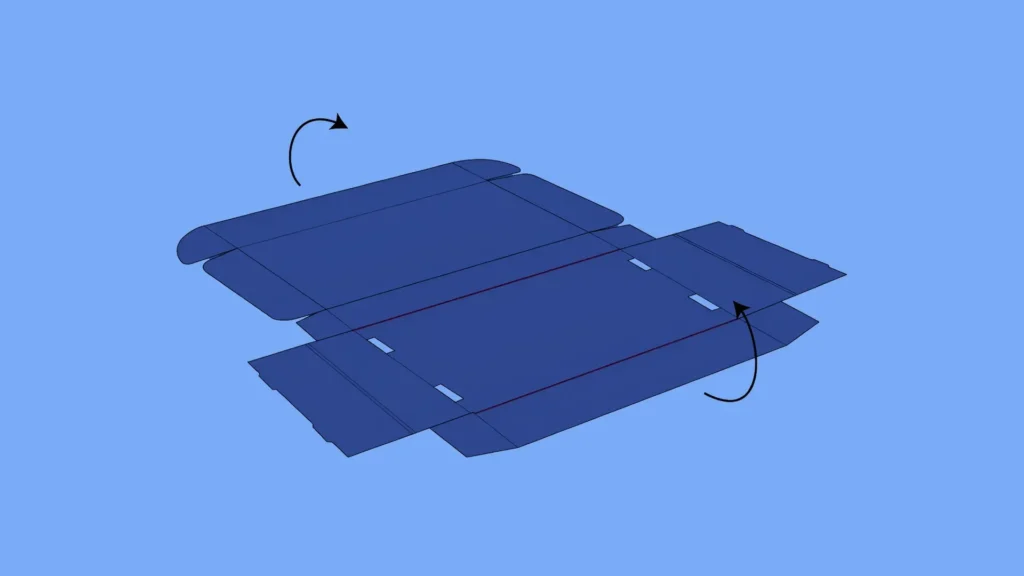
Start folding the front and the back panels of the box in the inward direction.
Step 2. Fold Sides
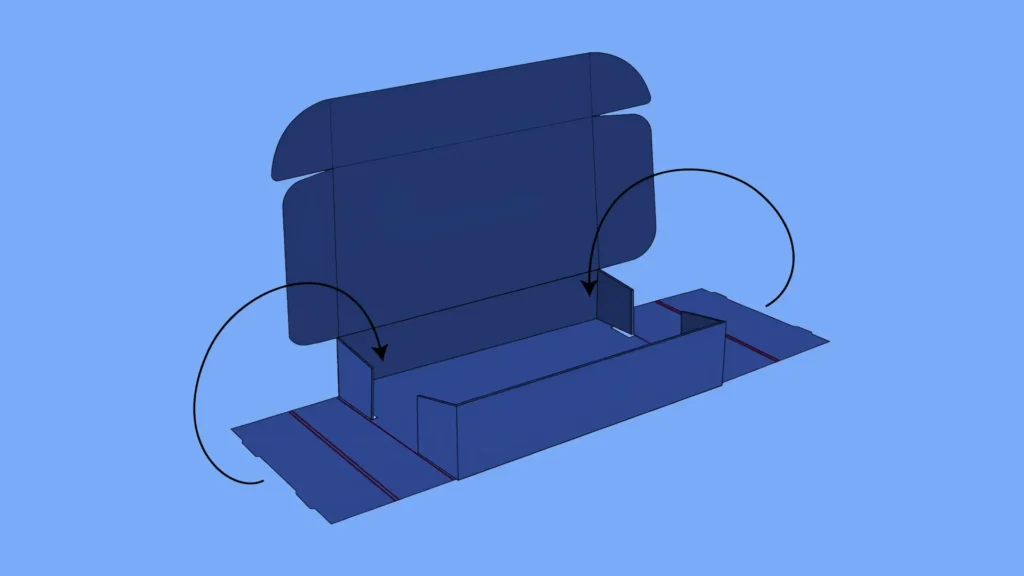
Keep your front and back panels standing, and start folding the sides. Tuck the tab into the side panels to lock them into place.
Step 3. Close The Box
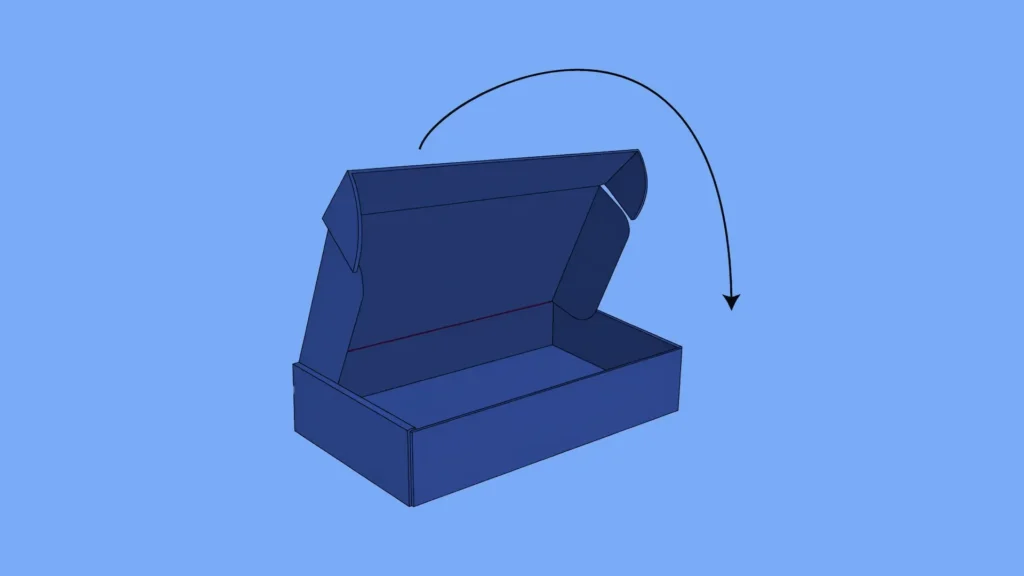
To close the box, you need to close the lid. The mailer boxes have two ears; all you need to do is tuck them inside the box.
Conclusion
Now that we have told you everything you need to know about folding a carton, why not share this article with a friend who is running a business and struggling to fold their boxes?
If you want to learn how to measure the dimensions of the box from a packaging expert, do not worry. We have a separate article on them. You may also want to look at it.